Mini Skid Steer Inspection Checklist for Tracks and Hydraulics
A practical, step‑by‑step inspection checklist for shoppers evaluating a mini skid steer for sale, covering tracks, hydraulics, auxiliary flow, quick attach, and control and drive tests.
Shopping a mini skid steer for sale means verifying condition where it matters most, the undercarriage, the hydraulic system (including auxiliary circuits), the controls, and the quick attach that make the machine productive with your attachments. The checklist below distills what contractors and rental fleets look at on-site so you can separate a solid mini skid loader from a fixer-upper.
Before you start prep safety tools and spares
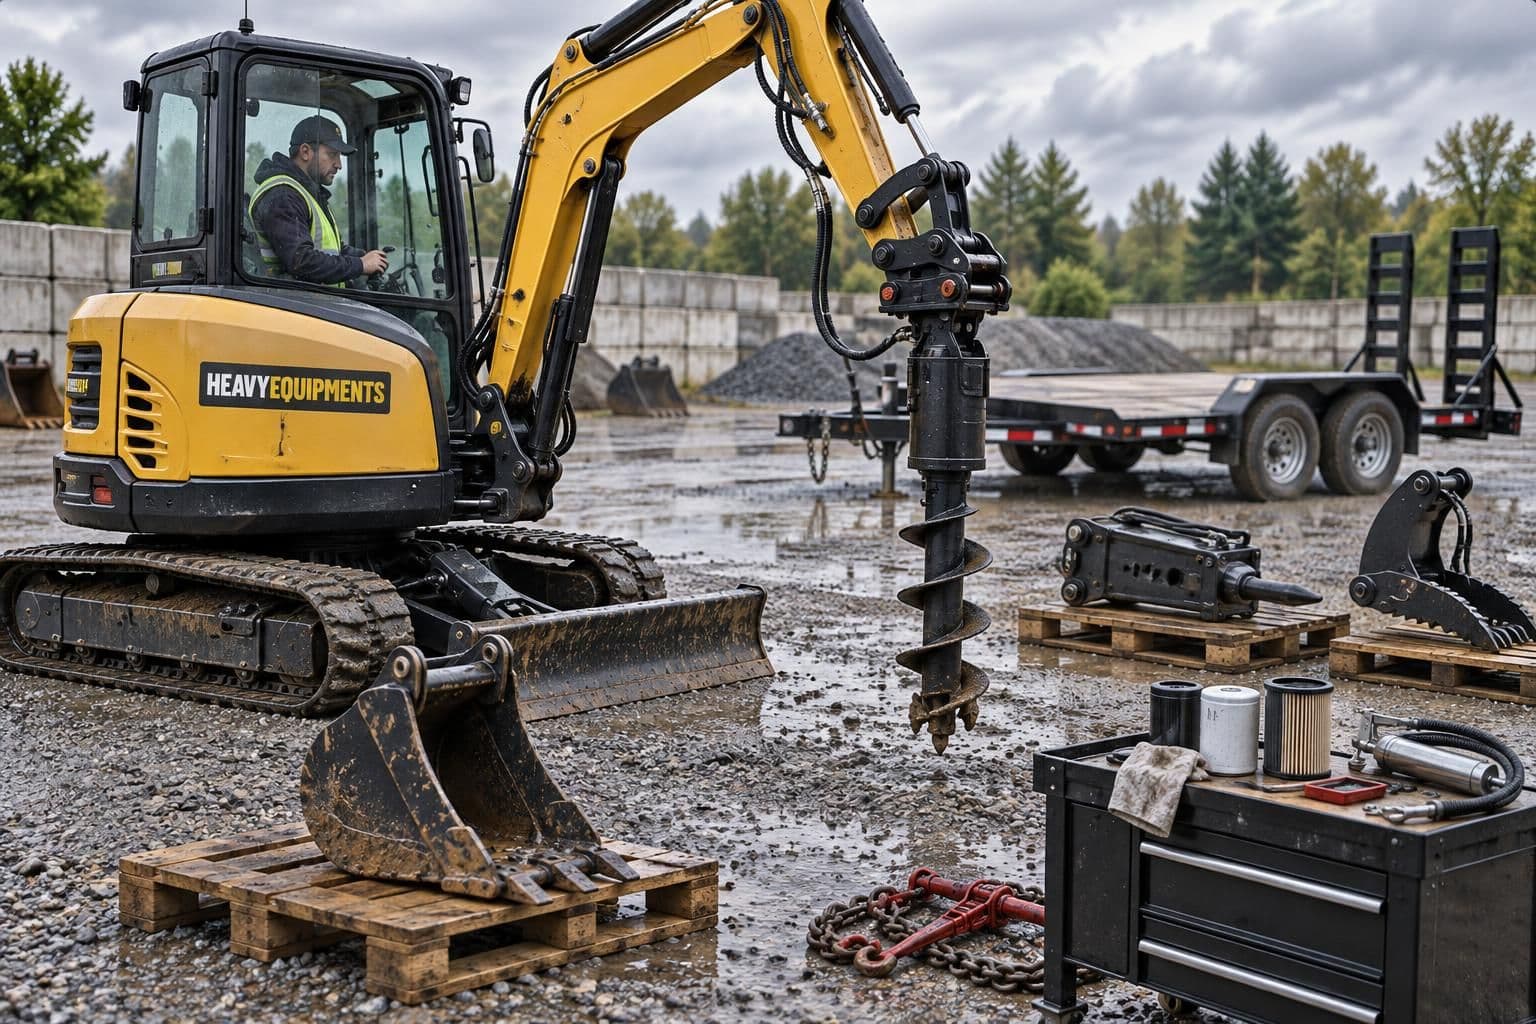
Ask the seller to park the machine on clean, level ground with a cold engine. Bring a flashlight, clean rags, a flat pry bar, a grease gun, and (if available) an auxiliary hydraulic test kit with couplers that match the machine. Have at least one hydraulic attachment you plan to run (auger, trencher, grapple, or breaker). Confirm the machine’s quick‑attach style matches your attachments.
- Walkaround first. Note overall cleanliness and any evidence of leaks under the machine. Fresh paint versus honest wear can also indicate recent repairs.
- Ask to see service records and any recent undercarriage or hydraulic work.
- If you’re cross‑shopping larger loaders, many checks below also apply to full‑size models like the Bobcat S595 or Kubota Ssv65.
Track and undercarriage inspection (mini track loaders)
Tracks and the undercarriage are the biggest wear items on a mini skid steer with rubber tracks. Focus here, it’s where unexpected costs often hide.
- Check track tread and carcass. Look for exposed cords, deep cuts, chunking, and sidewall cracking. Inspect inside drive lugs for tears or missing sections.
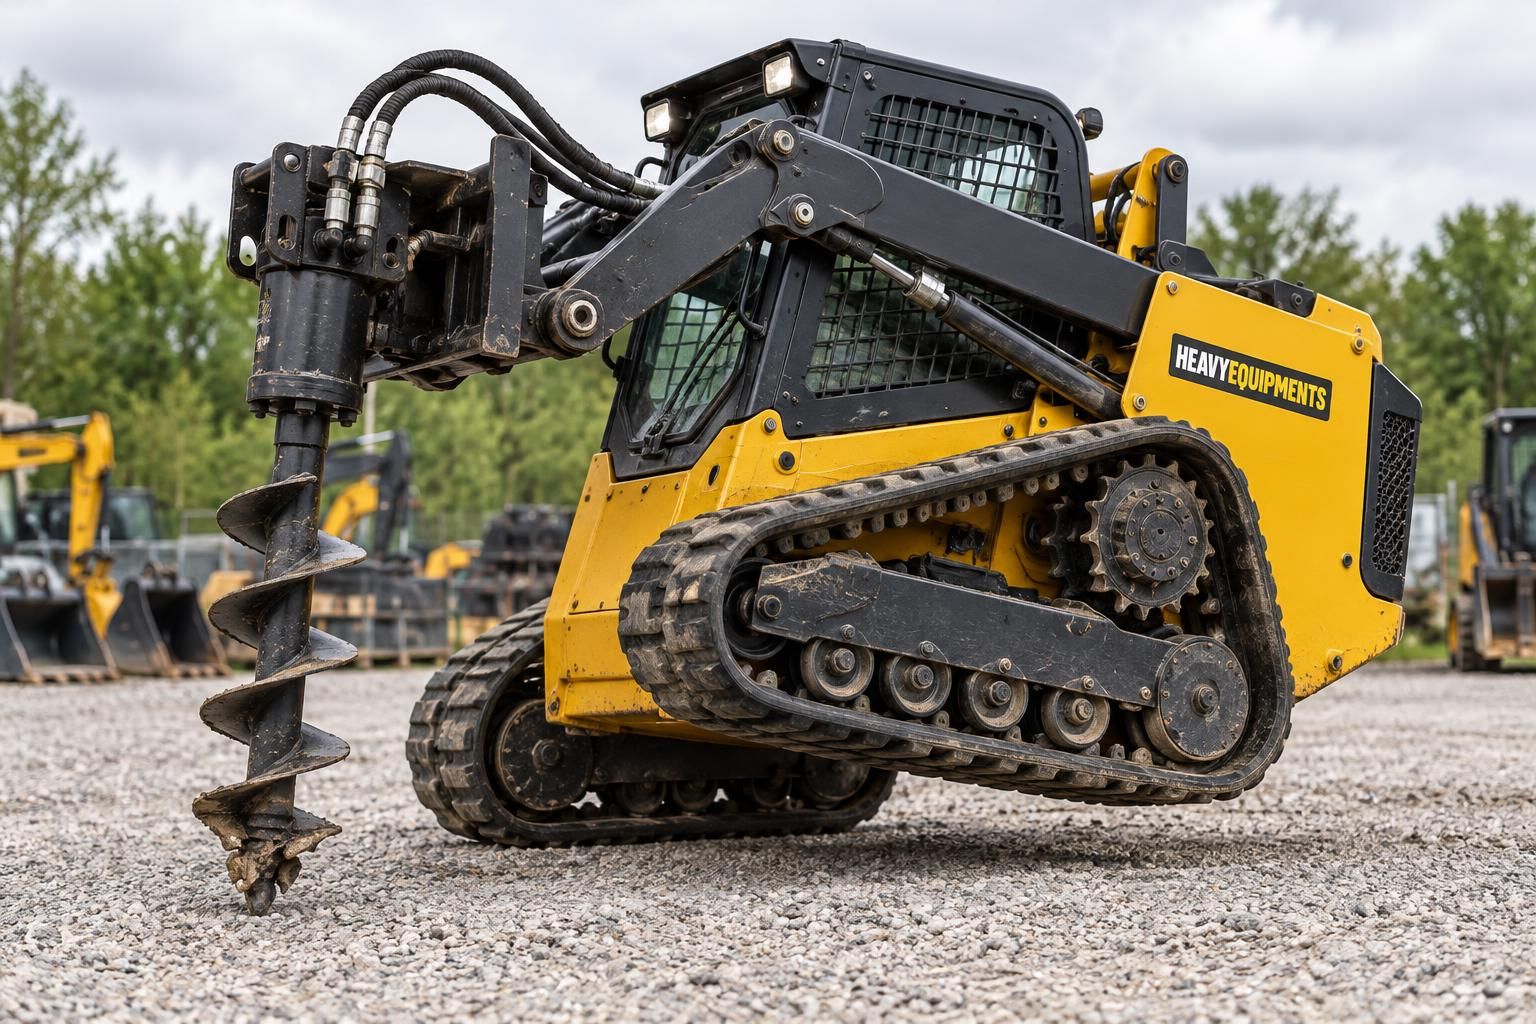
- Assess sprocket teeth. Hooked or sharp teeth (shark‑fin profile) indicate significant wear. Even, symmetrical teeth suggest normal wear, and mismatched sides can point to tension or alignment issues.
- Spin idlers and rollers if possible. Check for flat spots, looseness, noise, or leaking seals. Wobble or seepage suggests bearing or seal service ahead.
- Verify track tension. Safely lift a side and check sag and return‑to‑center. A track that will not hold tension could mean a leaking adjuster or damaged seals. Bent track components are another cause. Grease‑type adjusters should take grease and hold pressure without immediate bleed‑down.
- Inspect the track frame and guards. Look for bent guards and cracked welds. Packed debris around rollers accelerates wear.
Tip: If the machine is wheeled (not tracked), focus on tire sidewalls, remaining tread, wheel studs, and hub or axle seals. Play at the hubs or oil residue on the inside of rims points to upcoming repair.
Hydraulics pumps cylinders hoses and leaks
Hydraulic health determines how a used skid steer for sale will perform under load. You want smooth, quiet operation without foaming or surging, and avoid excessive heat.
- Cold start check. On startup, look for quick response in the lift and tilt functions without chattering or cavitation. A howling pump or delayed response can signal aeration or wear.
- Cycle test. Run full lift and curl cycles several times. Watch for jerky movement or hesitations. Uneven speeds can indicate spool or pump issues.
- Drift test. With the boom raised safely and secured, observe cylinder rods for creep. Persistent drift can indicate internal cylinder bypassing.
- Hoses and fittings. Inspect all flexible lines for abrasion and cracking, and look for wetness around crimps. Check manifold blocks and valve banks for weeping or fresh oil.
- Powered quick‑attach. Engage and disengage the lock. Slow or incomplete motion can point to a weak circuit or a sticking valve.
After cycling under load, shut the machine off and listen. Hissing or bubbling in the tank can mean air ingestion. Recheck for fresh drips forming under hoses, pumps, or motors.
Auxiliary hydraulics and flow proven with an attachment
Auxiliary flow is critical if you plan to run trenchers, breakers, brush cutters, or augers. Do not take claims at face value. Test them.
- Identify the package. Confirm whether the machine has standard‑flow or a higher‑flow option, and how the controls are actuated by switch or detent. Proportional control is a plus. If there’s a case drain fitting, note it. Some attachments require one.
- Couplers and lines. Inspect male and female couplers for nicks and loose retainers, plus any leaks. Couple and uncouple several times, they should connect cleanly without excessive force.
- Attachment load test. Hook up one of your tools. With the oil warm, run it at typical RPM. Look for steady torque without surging, and the ability to restart the tool under load. Lines should not build excessive heat.
- Stall behavior. Briefly load the attachment to a stop. The relief should crack predictably and the engine should lug in a controlled way, not die instantly or free‑rev due to hydraulic slip.
- Direction and feathering. Verify forward and reverse operation for augers or trenchers. You should be able to meter the flow smoothly with the controls.
If you have a flow/pressure test kit, plumb it to the auxiliary ports to confirm the circuit maintains stable output when hot. Record your readings for later comparison when you compare specs across candidates.
Loader arms pins bushings and quick attach plate
Structural looseness shows up in finish work and accelerates wear. Spend time here.
- Look for cracks and suspect welds. Inspect the arm towers and crossmembers, then check around cylinder mounts for hairline cracks or added plating. Fresh paint in isolated areas can hide repairs.
- Check pins and bushings. With the bucket flat on the ground, gently crowd and lift to feel for slop. Side‑to‑side movement at the quick‑attach or tilt linkage is more concerning than minor endplay. Excessive ovaling in bushing bores is a red flag.
- Verify the quick‑attach. Both latches must fully engage the attachment plate and stops should be intact. Uneven latch wear or a bent plate can make changing tools difficult and unsafe.
- Hit each grease point. If some take grease and others do not, expect seized pins or blocked passages.
Powertrain controls and the test drive
Even on small machines, how it drives tells you a lot about maintenance history.
- Engine health. From a cold start, listen for smooth idle and look for abnormal smoke. Check the air filter, engine oil condition, coolant level/quality, and belts/hoses. A machine that needs ether to start or hunts at idle may need attention.
- Drive motors and tracking. In a straight run, the machine should track true with minimal correction. Weakness to one side often points to motor or drive issues. On tracked units, repeated correction can also tie back to sprocket/roller wear or track tension.
- High/low travel if equipped. Toggle ranges and confirm distinct speeds and smooth transitions.
- Braking and parking brake. Verify positive engagement and release, with no creep on an incline.
- Controls and safety interlocks. Test all switches, operator‑presence system, lap bar/park lever, horn, lights, and display warnings. Fault lights or non‑functioning interlocks are negotiation points.
Finish with a short work simulation. Use V‑pattern cycles and feather the aux tool. Finish with grading in reverse. Listen for clunks in the arms or popping from the undercarriage that only shows up under load.
Paperwork red flags and when to walk
- Match the serial tag to the bill of sale and look for tampering.
- Review service records. A consistent maintenance log with filters and fluids, plus undercarriage parts, beats a recent coat of paint.
- Watch for fresh leaks after warmup. If new oil appears after the test run, budget time and parts or consider other options.
- Monitor temperature under light work. Overheating could indicate clogged coolers or a weak fan drive. Hydraulic inefficiency is another possibility.
- Confirm coupler compatibility and case drain needs. If your attachments will not connect or lack required returns, factor in conversion costs.
When in doubt, bring a trusted tech or arrange a pre‑purchase inspection. It is inexpensive insurance compared to major hydraulic or undercarriage repairs.
Next steps compare specs attachments and availability
Locking down the right machine is easier when you line up needs and numbers:
- Use our specs to understand rated operating capacity and tipping loads. Review lift design basics if you are also considering larger loaders.
- Shortlist units and compare specs side‑by‑side, especially if auxiliary hydraulics are critical for your work.
- Browse current for sale listings or check rentals if you want to trial a model on your site first.
- If the machine you’re eyeing needs work, price out parts and consider adding or updating attachments to match your hydraulic setup.
With a systematic inspection, keep tracks tight and hydraulics strong. Verify auxiliary flow under load so you buy with confidence and put your mini skid steer to work faster.